The "No-Gatekeeping" Guide: How to Master Instant Film
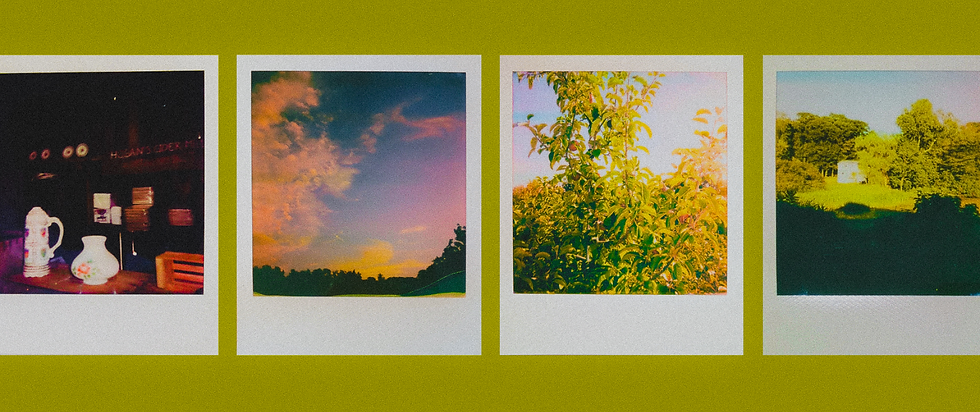
If you’ve ever loaded a fresh pack into a camera, pressed the shutter button with high expectations, and watched a $2.50 frame develop into a muddy, pitch-black shadow or a washed-out reddish mess… welcome. It’s a rite of passage, and it stings every single time.
Instant film is pure magic, but let’s be direct: it’s an absolute diva. There’s no undo button, no safety net, and zero room for post-processing saves. But once you stop treating it like a digital sensor and start working with its physical chemistry, you start pulling frames off the line that look like genuine art.
Here is the real, no-gatekeeping blueprint to mastering instant film without burning through your entire bank account.
Feed the Light Monster (The Exposure Reality)
The single biggest adjustment coming from digital is understanding how ridiculously hungry instant film is for light. Modern phone cameras and digital sensors will artificially boost exposure and trick your eyes when a room is dark. Instant film doesn't do favors. If you’re shooting indoors without a strong light source, 9 times out of 10, your photo is going to look like a cave at midnight.
The Direct Light Rule: Bright, direct sunlight is your best asset. Angle your subject so the primary light hits them straight on. Backlighting sounds cool until your subject turns into a solid black silhouette.
Always Use Flash Indoors: Indoors? Turn the flash on. Even if you think the room is well-lit, the film chemistry will disagree.
Respect the Chemistry (Temperature Hacks)
Instant film is living, breathing chemical reactions trapped inside a cardboard and plastic border. The ambient air temperature while that photo is developing dictates your final color profile.
Hot Weather (Above 80°F / 28°C): High heat accelerates the chemical reaction. The result? Your photos shift to a heavy, reddish-pink and lose contrast. The Move: Keep your extra film packs in a cool, shaded bag, and slide fresh shots out of direct heat immediately.
Cold Weather (Below 55°F / 13°C): Cold slows the reaction down to a crawl. Your shots will come out dark, desaturated, and icy blue. The Move: The second the camera ejects the print, slip it into an inside jacket pocket. Let your body heat bake the chemistry for the first five minutes.
Step Back & Embrace the Parallax
If you get two inches away from a piece of vintage glass to capture a close-up detail, your photo is going to end up blurry and completely off-center. That’s parallax error at work. On classic instant cameras, the viewfinder you look through sits an inch or two above the actual optical lens. Up close, what your eye sees through the glass is not what the lens is looking at.
The Sweet Spot: Keep your subject at least 3 to 4 feet away. This gives the fixed lens space to actually render a sharp image, centers your subject naturally, and gives you that soft, dreamlike depth of field.
The Shielding Ritual (Protect the First 5 Seconds)
The second that film ejects from the slot, it’s at its most vulnerable. Even with built-in film shields, direct light hitting the frame in those first few critical seconds will blow out your highlights and dilute your contrast.
When the frame pops out:
Don't shake it. Shaking can disrupt the chemical pod layers while they’re spreading.
Flip it face down or slip it directly into a dark pocket.
Leave it alone for a full 10 to 15 minutes while the chemistry settles into those deep, rich tones.
Edit for the Feeling, Not Perfection
Instant film isn't about clinical, 60-megapixel sharpness. It’s about texture, physical weight, and capturing a single frame that can’t be replicated. Every light leak, slight grain pattern, and moody shadow is part of the medium.
Load a pack, stop overthinking the outcome, and go make some art.


Comments