Aperture Demystified: The Secret to Depth, Light, & "The Glow"
- Mar 31
- 4 min read
Updated: Apr 10

If you’ve ever looked at a photo and wondered why the background looks like an out-of-focus dream – or why a landscape looks so sharp you can see every individual leaf – you’re looking at Aperture.
Most people call it "the blur button," but it’s actually the most important decision you make before you hit the shutter. Whether you’re shooting on a brand-new mirrorless or a 40-year-old Nikon film SLR, the rules are exactly the same. Let’s get into it.
What Is It, Physically?
Think of Aperture like the pupil of your eye.
When you’re in a dark room, your pupil gets huge to let in more light.
When you step into bright sun, it shrinks to a tiny pinprick.
Inside your lens, there are sets of blades that open and close. That opening is the aperture. We measure the size of that hole in f-stops (focal ratio) like f/1.8, f/5.6, or f/16.

The "Backwards" Logic
Here is the one thing that trips everyone up: The smaller the number, the bigger the opening.
f/1.8: Huge opening. Tons of light. Tons of blur.
f/16: Tiny opening. Very little light. Everything is sharp.
Pro Tip: If you’re struggling to remember, just think: Small Number = Small Amount of Focus.
Depth of Field: The Creative Sauce
Aperture controls Depth of Field, which is just a fancy way of saying "how much of the image is in focus from front to back."
Wide Open (f/1.4 - f/2.8): This is "Shallow Depth of Field." It isolates your subject. If you’re shooting a portrait or a single flower, this creates that "bokeh" (the blurry background) that makes the subject pop.
Stopped Down (f/8 - f/11): This is the "Sweet Spot." Most lenses are at their absolute sharpest here. It’s perfect for street photography where you want the person and the architecture behind them to be clear.
Narrow (f/16 - f/22): This is for landscapes. You want the rock at your feet and the mountain five miles away to both be sharp.
Digital vs. Film
While the mechanics are the same, how you use the aperture changes based on what’s behind the lens.
On Digital:
Digital sensors are "flat" and perfect. If you shoot at f/1.8 on a modern digital lens, it can sometimes look too clinical.
The Hack: If your digital shots feel "stiff," try shooting at f/2.8 or f/4 instead of f/1.8. It gives the lens a little more "character" and prevents that weird, fake-looking blur.
On Film: Film is a chemical medium. It’s thick.
The Reality: Film is much more forgiving with focus. Because of the way light hits the silver halides in the emulsion, "out of focus" areas on film look softer and more organic than digital.
The Danger: If you’re shooting film in low light at f/1.8, your "hit rate" for focus will be lower. Since you can’t see the back of the screen to check, many film shooters prefer to stay at f/4 or f/5.6 to ensure they actually caught the moment.
Lens Diffraction
You might think, "Well, I’ll just shoot everything at f/22 so it’s all perfectly sharp!" Don't do it. There’s a physical phenomenon called Diffraction. When the hole in your lens gets too small (like f/22), the light waves actually start to bend around the edges of the aperture blades. When the hole is tiny, a higher percentage of the light hitting the sensor is "bent" light rather than "straight" light, which causes that softness or "muddy" look.
The Fix: If you want maximum sharpness, stick to f/8 or f/11. That is almost always where your lens performs its best.
Sunstars: Many people shoot at f/16 or f/22 specifically to get that starburst effect on the sun or streetlights. It’s the one "pro" to using those tiny apertures!
Which F-Stop Should You Pick?
f/1.8 - f/2.8: "I want to hide the background and focus on one detail."
f/4 - f/5.6: "I’m walking around a city and want a balance of blur and sharp detail."
f/8 - f/11: "I want the highest quality, sharpest image my lens can produce."
f/16+: "I am shooting a landscape, and I have a tripod."
The Cheat Sheet: Which Lens for Which Aperture?
Aperture doesn't act alone; it’s a team effort with your focal length. Here is the "cheat sheet" for how they play together:
The 35mm or 50mm (The Storytellers): If you’re shooting at f/2.8, you’ll get a soft background but still see enough of the "vibe" behind your subject to tell a story.
The 85mm+ (The Dream Makers): Long lenses naturally compress the background. Shooting an 85mm at f/1.8 is how you get that "dreamy" look where the background practically turns into a painting.
The Wide Angle (The Architects): If you’re shooting with a 24mm lens at f/8, almost everything from your toes to the horizon will be sharp. This is the go-to for cityscapes.
Troubleshooting: "Why Is My Photo Still Blurry?"
If you’re shooting wide open (f/1.8) and your photo is blurry, check these three gatekept truths:
Plane of Focus: At f/1.8, your "slice" of focus is paper-thin. If you focus on someone's nose, their ears might be blurry. Aim for the eye closest to the camera.
Minimum Focus Distance: Every lens has a limit. If you’re too close to your subject, the lens physically cannot lock focus, no matter how low your f-stop is. Back up a few inches.
The "Cheap Lens" Softness: Most entry-level lenses are a little "mushy" at their widest setting. If your f/1.8 shots look hazy, try "stopping down" to f/2.2 or f/2.8. You’ll still get the blur, but your subject will be much crispier.
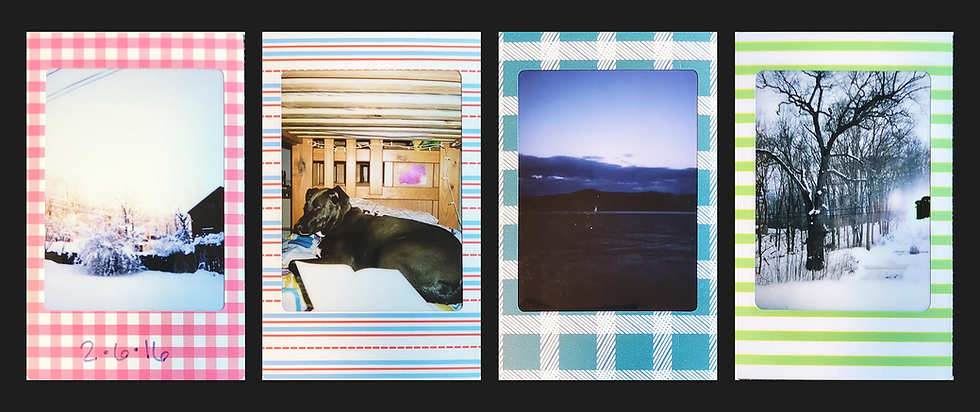
Challenge for the week: Take your camera out, put it on "Aperture Priority" (the Av or A on your dial), and take the exact same photo at f/1.8 and f/11. Look at the prints. See how the "mood" of the story changes just by changing the hole in your lens.

Comments